But what makes records so great? Audiophiles still swear by this physical medium because it’s what’s called a lossless format. This means that the pressings that imprint the grooves into the record are created directly from the mastered version of the music, so what comes out of your speakers in your record player setup sounds exactly how the artist intended it to be heard.
Plus, there’s the nostalgia factor, the joy of collecting records and holding a 12″ x 12″ physical copy in your hands and enjoying the artwork in a larger form.
How to build a record player setup for your apartment
Having a record player in your apartment means you can instantly set the mood for any occasion, chronicle your music tastes, take satisfaction in enjoying music the way it was meant to be heard and show off to your friends.
To get you started, here’s a list of what you’ll need to build the perfect setup for your apartment, which should only take a few minutes:
- Turntable
- Phono preamplifier
- Speakers
- Power amplifier
- 2 RCA cables
- Speaker wire
- Accessories
Step 1: Start with a turntable

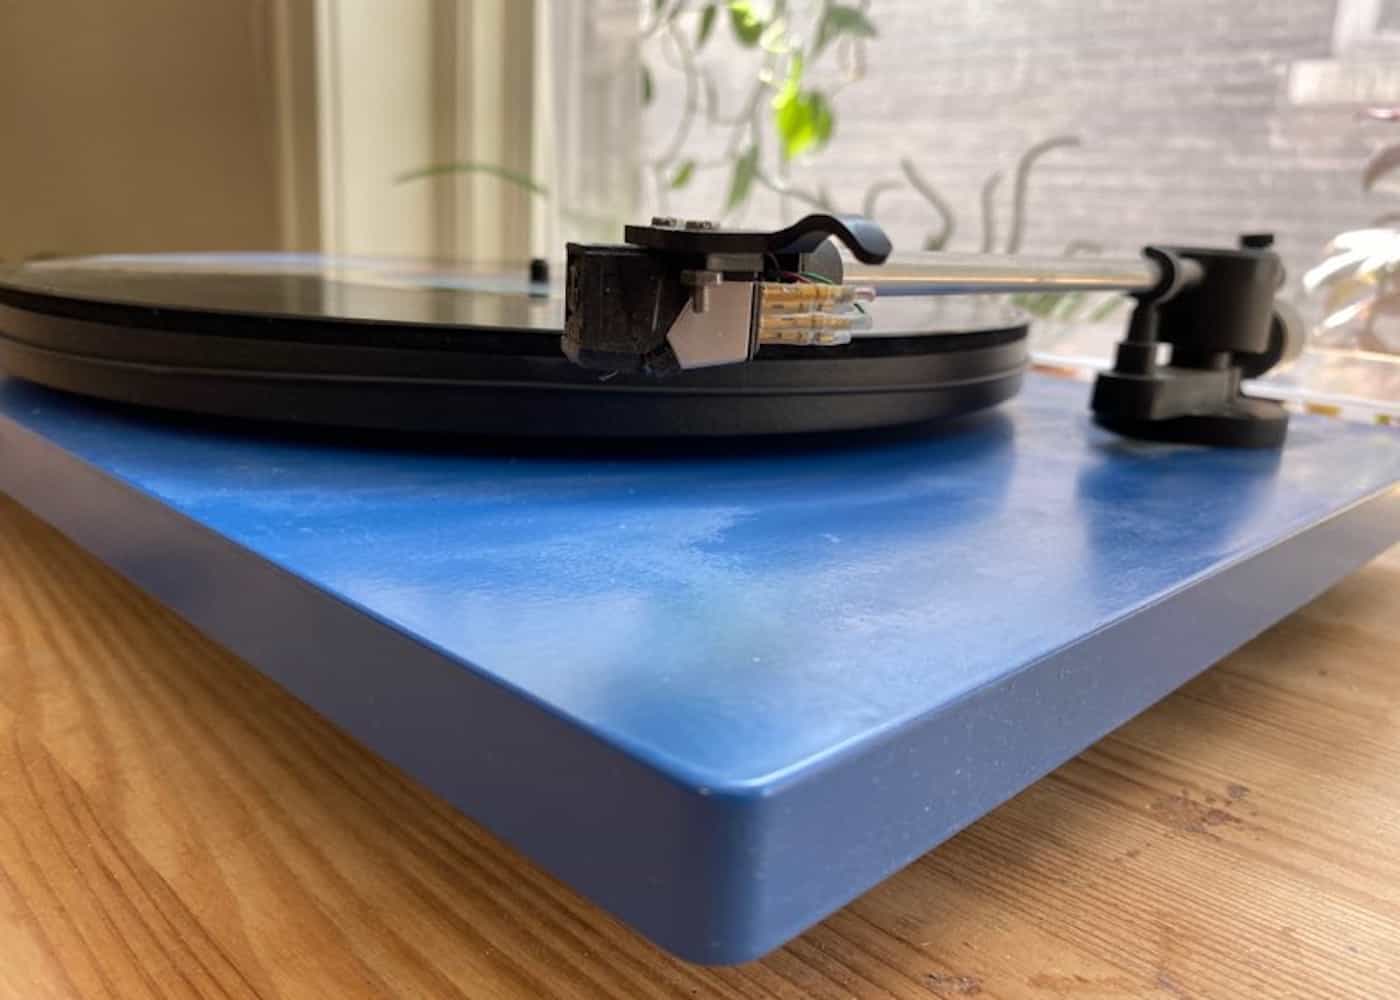
Obviously, the first thing you’ll need is a reliable turntable (a.k.a. record player). They range pretty vastly in price and quality anywhere from $50 to price tags in the thousands.
All-in-one products are available and do offer the most convenient entry point into the world of vinyl. However, they often lack quality in construction and sound and can even damage your records, so they don’t often come highly recommended.
Many local record stores sell well-maintained used audio equipment at fair prices and if not, they’ll likely be able to point you in the direction of a place that does and there are plenty of guides available on the internet for specific equipment to help you shop online.
Step 2: Connect your phono preamplifier

If you were to plug your turntable directly into speakers at this point, the sound would be very weak with a thin or tinny quality. In order to enjoy the full tone and depth of your records, you’ll need to amplify and equalize the sound signal that your turntable creates by using a phono preamplifier. Some record players come with this feature included, but in many cases, an external piece of equipment is needed.
The record player connects to the phono preamp using an RCA cable. Plug one end into the record player’s color-coordinated output ports and the other into the phono preamp’s input ports to complete this step.
Step 3: Set up the speakers

When making a music room in an apartment-sized space, bookshelf speakers offer an appropriate level of sound. If you have downstairs neighbors it’s always a good idea to be respectful by keeping your speakers off the floor. Any next-door neighbors will appreciate you positioning your speakers away, or at least a few feet back, from shared walls.
The next step in assembling your setup will depend on the type of speaker system you’ll be using. If your sound system is active, meaning that it’s powered by plugging into a wall outlet, you can connect the second RCA cable from the phono preamplifier’s output ports directly into the speakers’ input ports, and your job is done!
You can control the volume and usually some tone settings like bass and treble directly from controls located on your speaker. However, if your speakers are passive, meaning that they don’t draw their own power, you’ll need to get electricity to them using what is called a power amplifier.
Step 4: Connect it all to the power amplifier

This step might seem a little overwhelming, but everything should be clearly labeled and easy to identify. So, a power amplifier plugs into a wall outlet and then transfers its electricity to the powerless “passive” speakers via speaker wire, which has two cables — one positive and one negative.
Connect the left speaker by plugging one end of the speaker wire’s exposed negative cable to the speaker’s negative input and the other into the power amplifier’s negative output that’s labeled “left.” Repeat this process with the speaker wire’s positive cable, and then use a second section of speaker wire to connect the right speaker to the power amp using the same process.
Your speakers are now fully powered by the power amp and can be controlled using its dials. A variety of power amps are available with many controls to completely customize your sound.

Now, connect the power amplifier to the phono preamplifier using the second RCA cord and your setup is complete! You’ve created a closed loop, sending the signal that your record player’s needle picks up from the grooves of a record directly to your speakers, being amplified and equalized along the way to deliver high-quality audio to your ears.
Tidy up by hiding any exposed wires or cables using clips, or even scotch tape, for a clean, sleek look and your apartment is ready to be filled with music as you’ve never heard it before.

Consider additional accessories for your record player setup
Some small accessories can make a big difference for your record player set up. A 45 adapter is very inexpensive but necessary to listen to some 7″ records with wider holes. An anti-static brush can keep your records clean and reduce surface noise. Record weights are great to help records sit flush with the turntable, creating a more even sound and reducing skips, especially handy for older records.
Many phono and power amps include headphone jacks, and you still get the high quality of the vinyl pressing through headphones, so a good pair is essential in an apartment if you enjoy your music at loud volumes, or late hours.
Enjoying high fidelity audio from your record player
If your home is your haven, and you love listening to music when you’re there, a record player setup can add a lot of joy to your life. Just like when building a home theater system, there’s an initial investment, but the perfect setup for your apartment is only a few pieces of equipment away and is something that you can enjoy for years to come.